Introduction
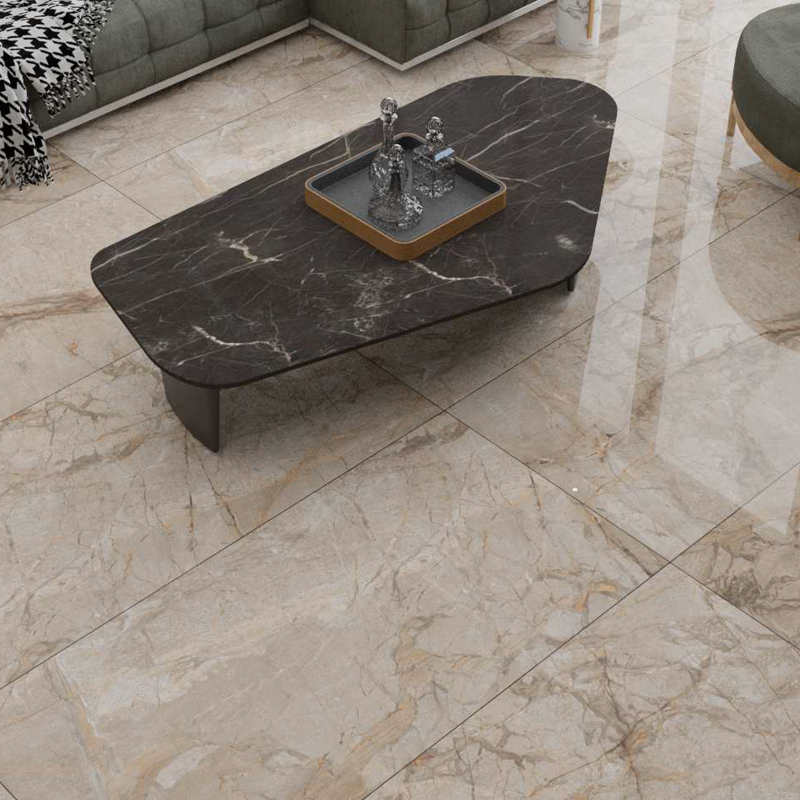
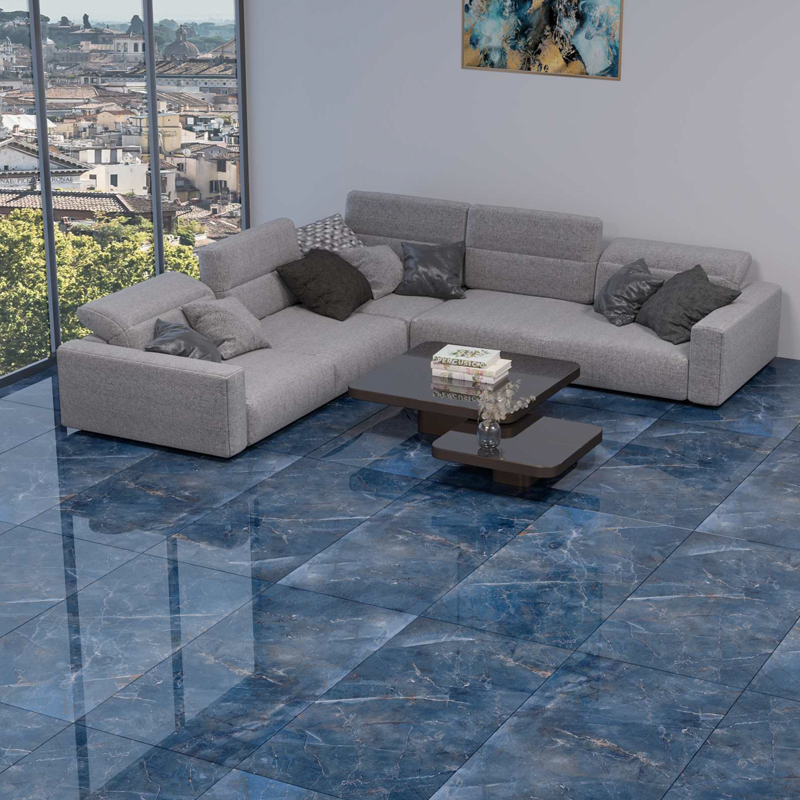
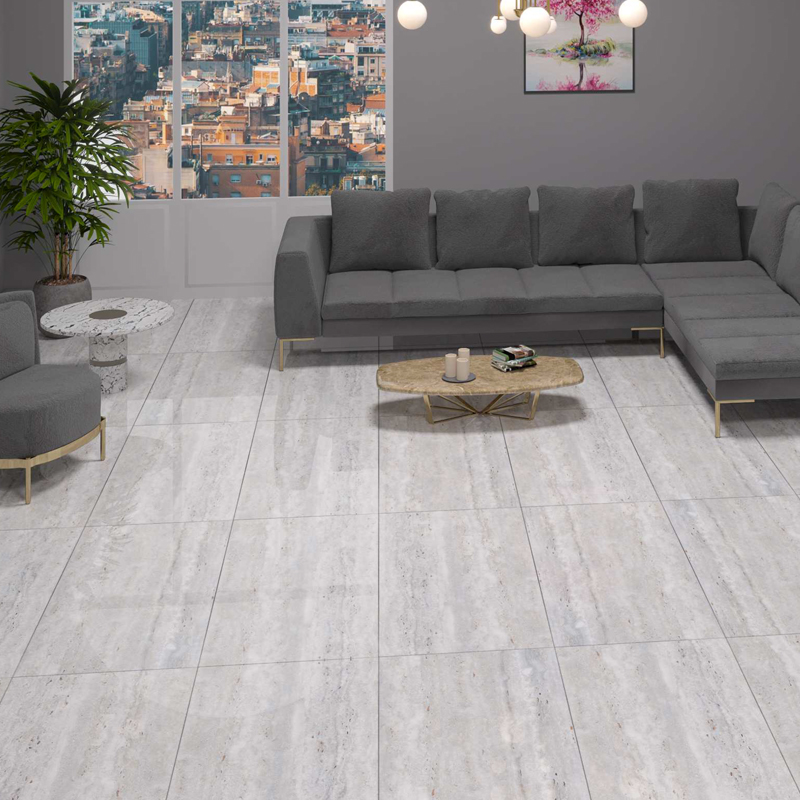
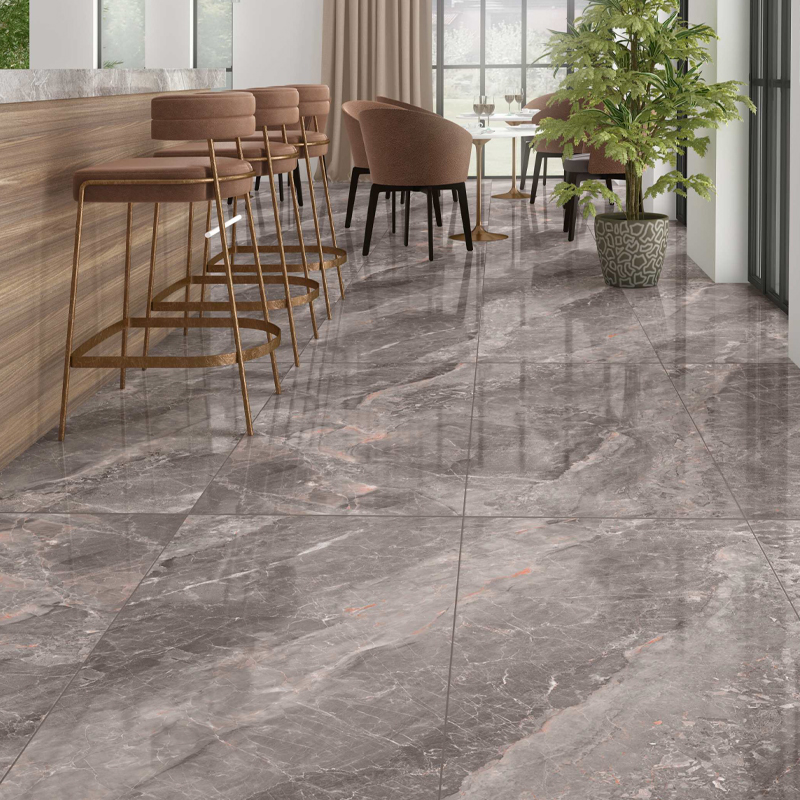
Introducing Glossy, the ceramic masterpiece that elevates the elegance of any space. Crafted with precision and designed to perfection, this product embodies the essence of sophistication and style. Whether you’re revamping your home or enhancing your commercial space, Glossy is the perfect choice to add a touch of luxury.
Superior Craftsmanship
Glossy is made from high-quality ceramic materials that ensure durability and longevity. Each piece undergoes a meticulous crafting process, ensuring that the final product is not only visually stunning but also resilient. The glossy finish adds a layer of protection, making the surface resistant to scratches and stains, while maintaining its lustrous sheen over time.
Versatile Design
The versatile design of Glossy makes it suitable for a variety of applications. Whether you want to create a striking feature wall, a sophisticated backsplash, or a chic floor, this ceramic product delivers on all fronts. Its neutral tones complement a wide range of color schemes, making it an easy choice for any interior design project.
Easy Maintenance
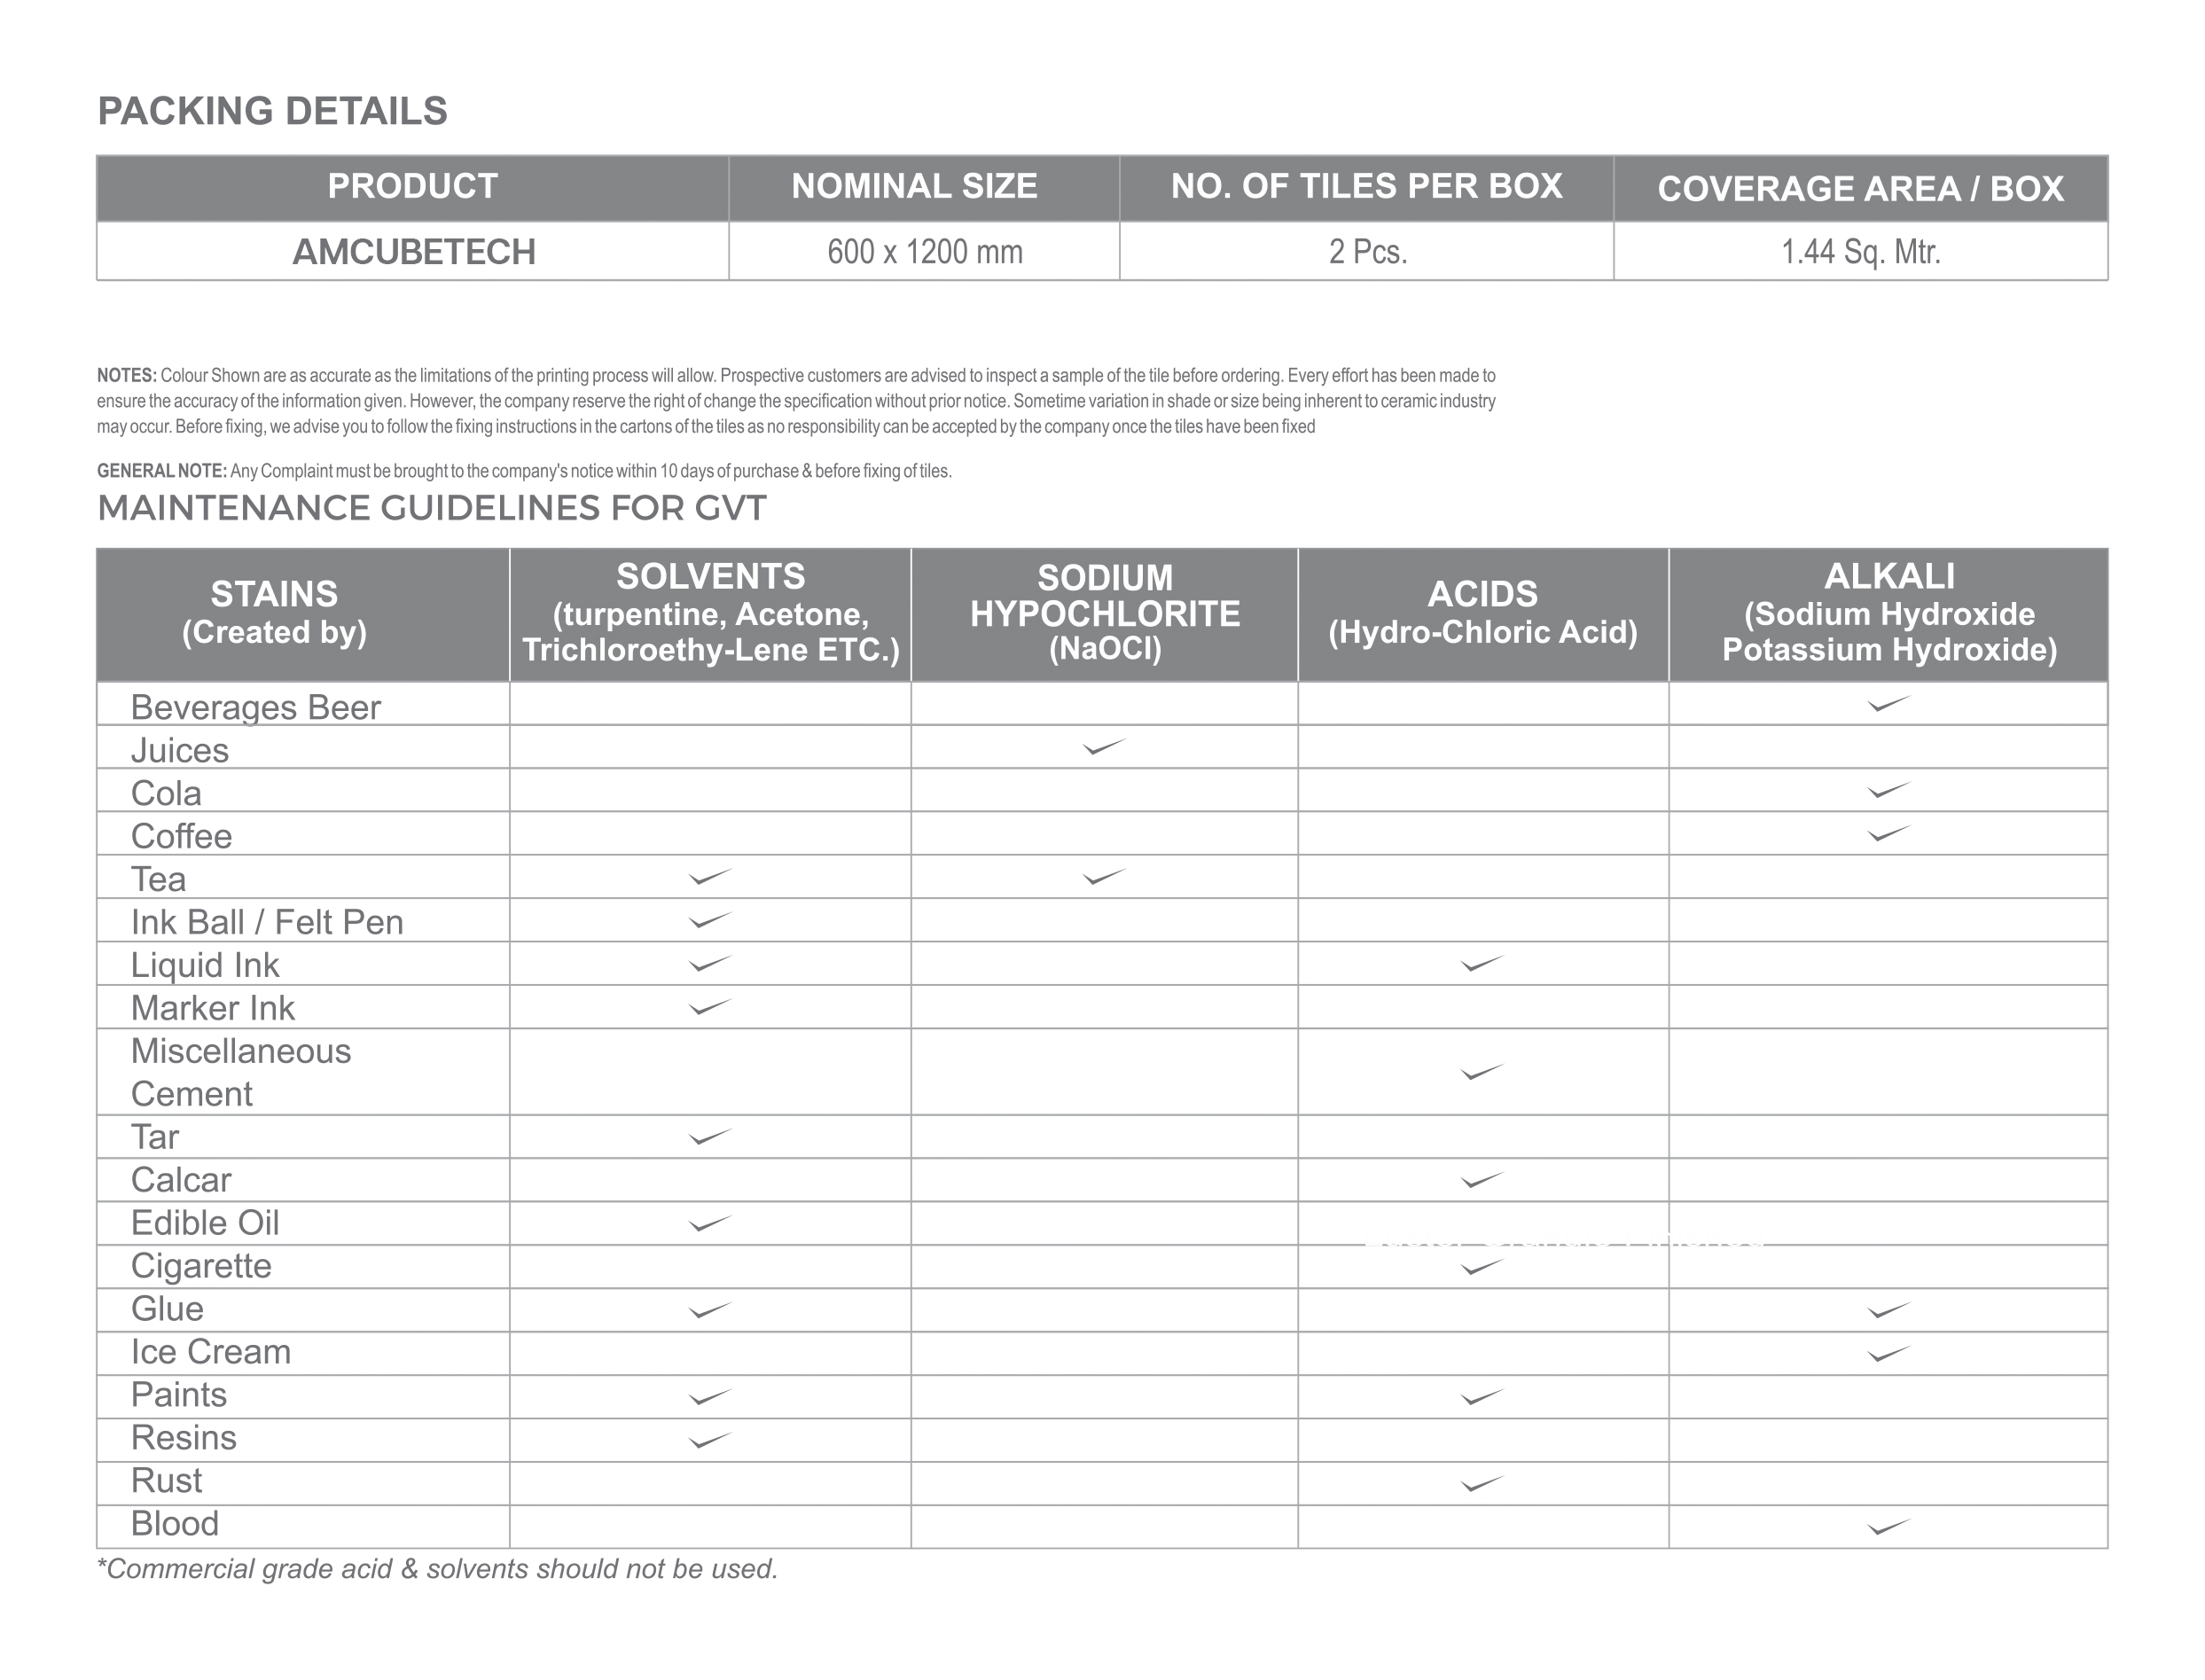
One of the standout features of Glossy is its ease of maintenance. The smooth surface allows for easy cleaning, requiring only a simple wipe-down to keep it looking pristine. This makes it an ideal choice for areas that experience high traffic, such as kitchens, bathrooms, and commercial spaces.
Environmental Responsibility
At the heart of Glossy’s production is a commitment to environmental responsibility. The manufacturing process is designed to minimize waste and reduce the carbon footprint. The materials used are sustainably sourced, ensuring that while you enjoy the beauty of this product, you’re also contributing to a greener planet.
TILES FIXING INSTRUCTIONS
- Plaster the surface of the floor where the tiles will be laid with smooth finish and complete the plastering and curing at least two weeks prior to laying.
- Before fixing BLACKBERRY tiles, lay them out in the desired pattern and make sure that they give an acceptable blend of colour. Please note that certain amount of shade variation is inherent in the manufacture of fully Vitrified ceramic tiles. THE COMPANY WILL BEAR NO LIABILITY AFTER THE TILES ARE FIXED.
- The company bears no responsibility towards the tiles exposed to any outside process like transfers, printing, firing etc.
- For fixing BLACKBERRY tiles we recommend the use of tile fixing adhesives for best results. Also follow the fixing instructions provided along with the adhesives.
- For fixing BLACKBERRY tiles on the floor, using sand and cement, follow the instructions given below: (a) Use cement and sand mortar in the ratio of 1:4. Add some water to create a consistent paste. (b) Once the mixing has completed do not add any further water and use the same within one hour. (c) Apply a 20-30 mm, layer of bedding material over an area of 1 square meter at a time on the surface of the area. Apply a fine slurry to the back of the tile to ensure proper and full bedding. Press gently for even adherence at the back of the tile. DO NOT USE AN IRON HAMMER OR SOME HEAVY MATERIAL TO PRESS THE TILE.
- For fixing BLACKBERRY tiles on Dado, we recommend the use of tile fixing adhesive with proper troweling method for 100 per cent coverage behind the tiles and for peerless bonding. Please follow the manufacturer’s instructions for the same. We do not recommend the use of sand and cement for fixing on Dado.
- Make and lay out the tiles from the center of the area to be laid so that cut tiles, if any, will be on the outer edges towards the walls.
- The work size which we try to maintain for better technical performance is 600mm x 600mm, 600mm x 1200mm on average. It is advisable to maintain a gap of 1 mm to 2 mm between every two tiles to allow for possible expansion as per BIS/EN tolerance norms.
- Complete the laying process by pressing the cut BLACKBERRY tiles firmly into place along the walls/floors.
- Allow 3-4 days for bed curing. After this period fill the joints with grouts. Usage of grout sealant is recommended for keeping the grout free of dust.
- Fifteen minutes after finishing the grouting process, wipe off excess grout with a damp sponge and polish the tiles with a soft and dry cloth for a clean surface. The tiles can also be cleaned with a mild acid (However, Hydrofluoric acid and its derivatives should not be used).
- Please note that the company does not accept any liability in case of problems arising out of non-adherence to these fixing instructions.






Emily P. –
Glossy transformed my living room! The tiles are stunning, and the finish is flawless. I highly recommend it for anyone looking to add a touch of elegance.
John D. –
I used Glossy for my kitchen backsplash, and it turned out beautifully. The tiles are easy to clean and have maintained their shine over time.
Sophia L. –
These ceramic tiles are top-notch. The quality is excellent, and they look even better in person. Perfect for any home renovation project.
Michael T. –
I’m impressed with the durability of Glossy. I installed it in my bathroom, and it still looks brand new after months of use.
Olivia S. –
Glossy is a game-changer. The tiles are elegant, easy to maintain, and have added a luxurious feel to my space. Worth every penny!