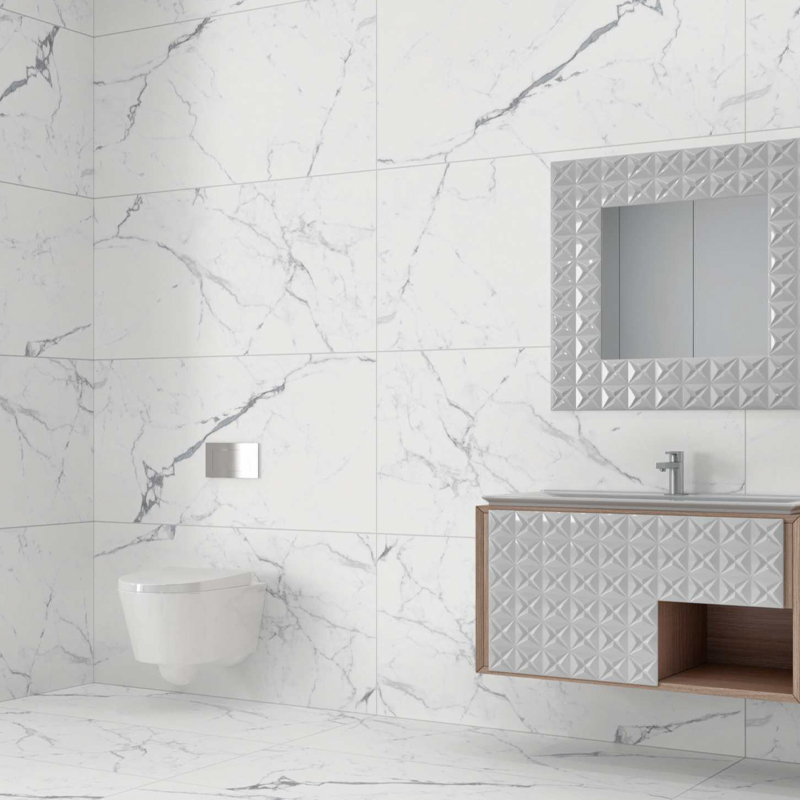
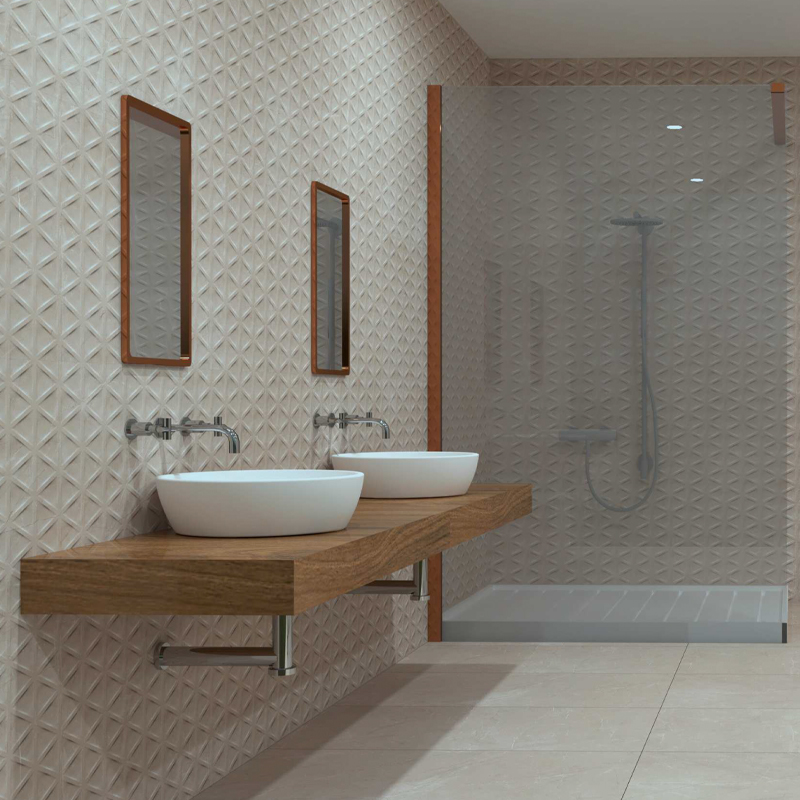
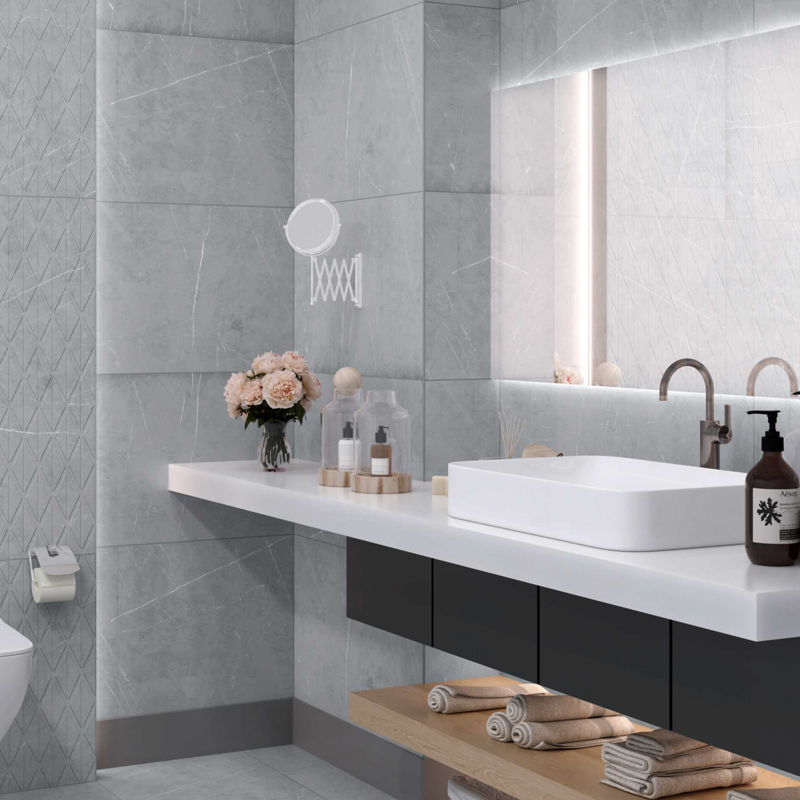
Luxurious Design The Satin ceramic piece exudes luxury and sophistication, making it a perfect addition to any upscale environment. Its smooth and polished surface reflects light beautifully, giving it a soft, satin-like appearance that enhances its elegance. The design is both contemporary and timeless, ensuring that the Satin piece will remain a stylish feature in your home for years to come.
Superior Craftsmanship Crafted with meticulous attention to detail, the Satin ceramic piece is a testament to superior craftsmanship. Each piece is carefully shaped and glazed to perfection, resulting in a flawless finish that is both visually stunning and tactilely pleasing. The high-quality ceramic material ensures that the Satin is not only beautiful but also durable and long-lasting.
Versatile Functionality The Satin piece is as versatile as it is beautiful. Whether you use it as a centerpiece, a decorative bowl, or a stylish planter, it will elevate the aesthetic of any space. Its neutral color and elegant design allow it to complement a wide range of interior styles, from modern to classic. The Satin ceramic piece is a functional work of art that enhances the beauty of your surroundings.
Eco-Friendly and Sustainable In keeping with a commitment to sustainability, the Satin ceramic piece is made from eco-friendly materials and produced using environmentally responsible methods. This not only makes it a beautiful addition to your home but also a conscious choice for the planet. The Satin piece is a perfect example of how luxury and sustainability can coexist.
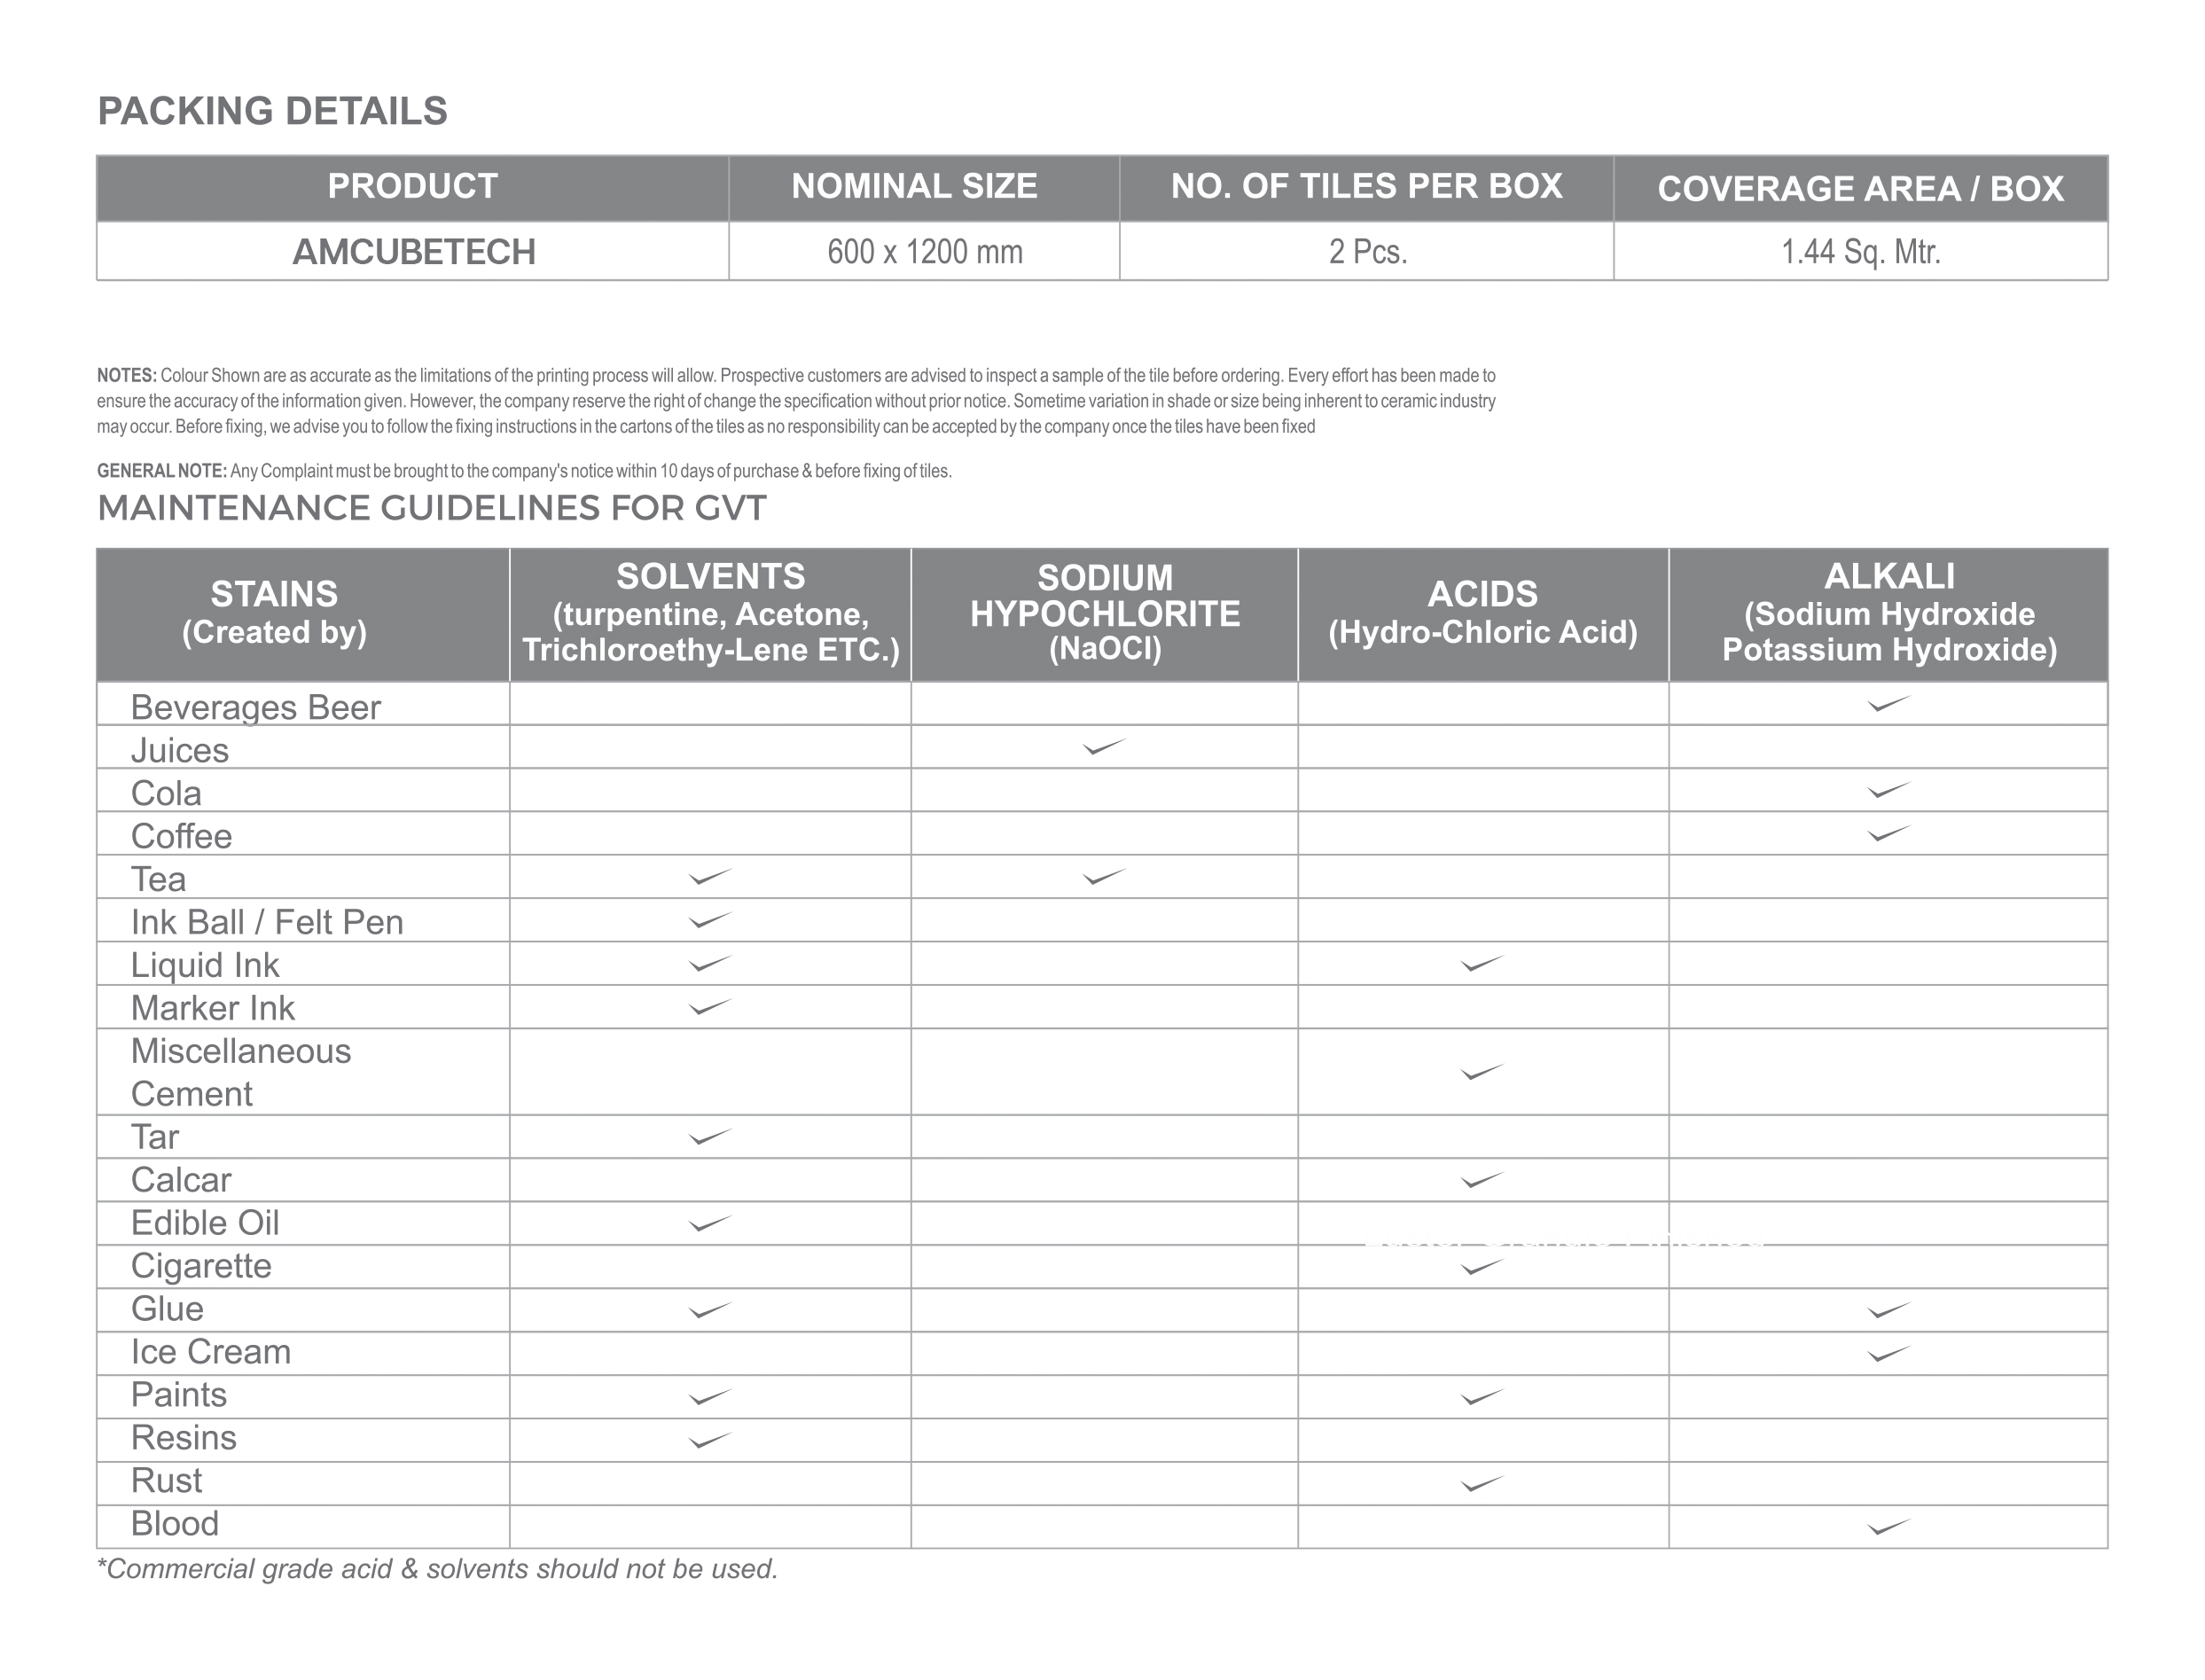
Easy Care and Maintenance Maintaining the Satin ceramic piece is simple and straightforward. Its smooth, non-porous surface makes it resistant to stains, and it can be easily cleaned with a damp cloth. The durability of the ceramic material ensures that it will maintain its beauty with minimal upkeep, making it a practical choice for those who value both aesthetics and convenience.
TILES FIXING INSTRUCTIONS
- Plaster the surface of the floor where the tiles will be laid with smooth finish and complete the plastering and curing at least two weeks prior to laying.
- Before fixing BLACKBERRY tiles, lay them out in the desired pattern and make sure that they give an acceptable blend of colour. Please note that certain amount of shade variation is inherent in the manufacture of fully Vitrified ceramic tiles. THE COMPANY WILL BEAR NO LIABILITY AFTER THE TILES ARE FIXED.
- The company bears no responsibility towards the tiles exposed to any outside process like transfers, printing, firing etc.
- For fixing BLACKBERRY tiles we recommend the use of tile fixing adhesives for best results. Also follow the fixing instructions provided along with the adhesives.
- For fixing BLACKBERRY tiles on the floor, using sand and cement, follow the instructions given below: (a) Use cement and sand mortar in the ratio of 1:4. Add some water to create a consistent paste. (b) Once the mixing has completed do not add any further water and use the same within one hour. (c) Apply a 20-30 mm, layer of bedding material over an area of 1 square meter at a time on the surface of the area. Apply a fine slurry to the back of the tile to ensure proper and full bedding. Press gently for even adherence at the back of the tile. DO NOT USE AN IRON HAMMER OR SOME HEAVY MATERIAL TO PRESS THE TILE.
- For fixing BLACKBERRY tiles on Dado, we recommend the use of tile fixing adhesive with proper troweling method for 100 per cent coverage behind the tiles and for peerless bonding. Please follow the manufacturer’s instructions for the same. We do not recommend the use of sand and cement for fixing on Dado.
- Make and lay out the tiles from the center of the area to be laid so that cut tiles, if any, will be on the outer edges towards the walls.
- The work size which we try to maintain for better technical performance is 600mm x 600mm, 600mm x 1200mm on average. It is advisable to maintain a gap of 1 mm to 2 mm between every two tiles to allow for possible expansion as per BIS/EN tolerance norms.
- Complete the laying process by pressing the cut BLACKBERRY tiles firmly into place along the walls/floors.
- Allow 3-4 days for bed curing. After this period fill the joints with grouts. Usage of grout sealant is recommended for keeping the grout free of dust.
- Fifteen minutes after finishing the grouting process, wipe off excess grout with a damp sponge and polish the tiles with a soft and dry cloth for a clean surface. The tiles can also be cleaned with a mild acid (However, Hydrofluoric acid and its derivatives should not be used).
- Please note that the company does not accept any liability in case of problems arising out of non-adherence to these fixing instructions.





Lisa B. –
The Satin ceramic piece is absolutely stunning! Its luxurious finish adds a touch of elegance to my living room. I’m thrilled with my purchase!
Andrew S. –
I love the Satin piece for its versatility. It’s beautifully crafted and fits perfectly with my modern décor. Highly recommend it to anyone looking for quality!
Jessica M. –
This is a must-have for anyone who loves luxury home décor. The Satin piece is both stylish and functional, and the quality is exceptional.
Mark T. –
The Satin ceramic piece exceeded my expectations. It’s elegant, durable, and easy to clean. It’s a beautiful addition to my home that I’m very happy with.
Sophie R. –
I’m so pleased with the Satin piece! The design is timeless, and the finish is flawless. It’s a versatile item that works well in any room.